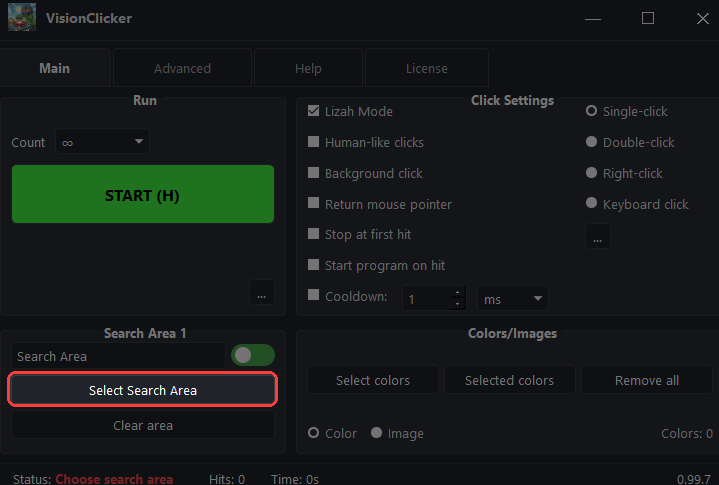
1 Create your first Search Area
VisionClicker operates by monitoring a specific part of your screen. Click the Select Search Area button and draw a rectangle around what you want to follow.
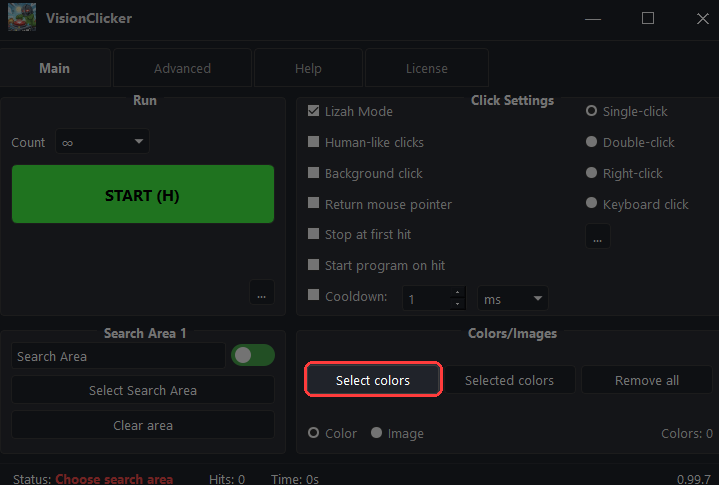
2 Pick Your Target Colors
Once your area is set, define what VisionClicker should look for! Click Select colors and click on the target objects to add them to your collection.
3 Start the Smart Clicking
When everything is pre-configured, just hit the big green START button or use your global hotkey to begin. VisionClicker now starts seeing and clicking intelligently!
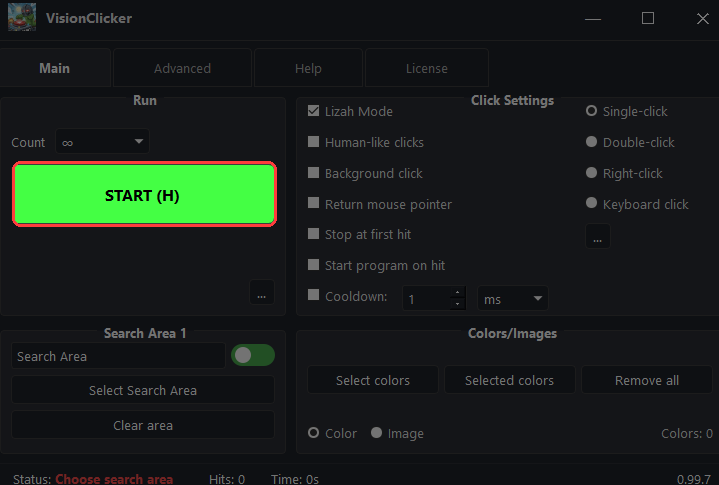
Pro Tip: Use the global hotkey (default F6) to start/stop the search instantly without switching any windows!
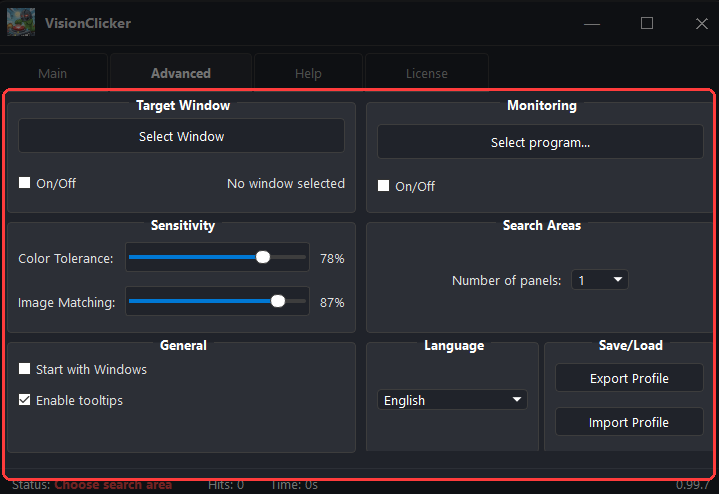
4 Master the Advanced Settings
For more complex automation, the Advanced tab offers the following professional features:
- Target Window: Bind VisionClicker to a specific application to ensure precision even when moving the window.
- Sensitivity Control: Fine-tune Color Tolerance and Image Matching to find targets in complex environments.
- Search Areas: Increase the number of active panels for monitoring multiple parts of the screen simultaneously.
- General Management: Configure auto-start with Windows and toggle tooltips for a cleaner interface.
- Save/Load Profiles: Export and import entire task configurations to switch between different workflows instantly.
- Language Support: Choose between English and Swedish for your entire workspace.
- Automatic Updates (Client): The client will notify you when a new version is available for your software.
Need help?
Our support team is always ready to assist you with complex automation setups.
Contact Support